In this step-by-step guide, we cover how to capture a client in the Empowa Pay app including assigning them to a property, capturing their agreement and capturing a payment.
Logging in to Empowa Pay #
Head over to https://empowa.systems/web/login to login. Enter the username and password provided to you by the Empowa team.

Once logged in you’ll see the below screen click the tile saying Empowa Pay.

Capturing Client Details #
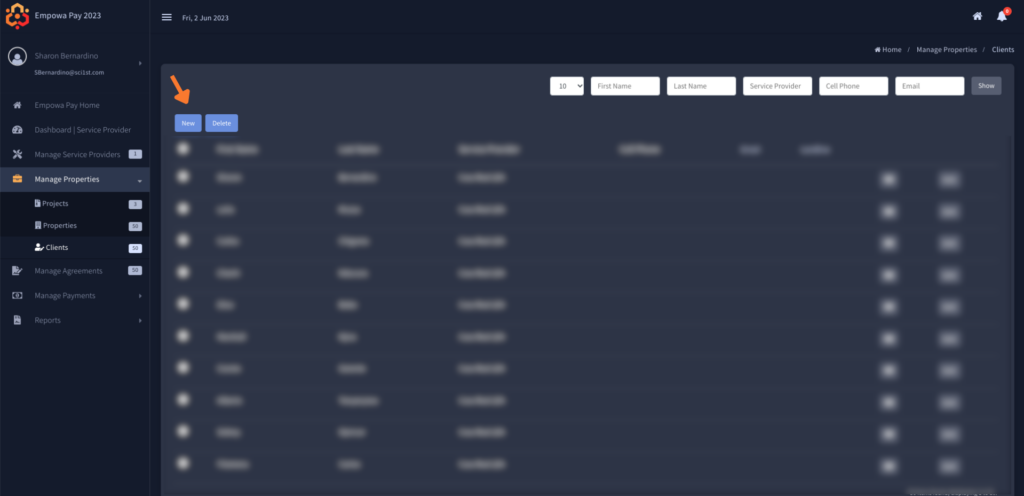
Step 1: Clicking the “Manage Properties” option on the left-hand menu.
Step 2: Then click the “Clients” option
Step 3: Next click the button saying “New” in the following screen
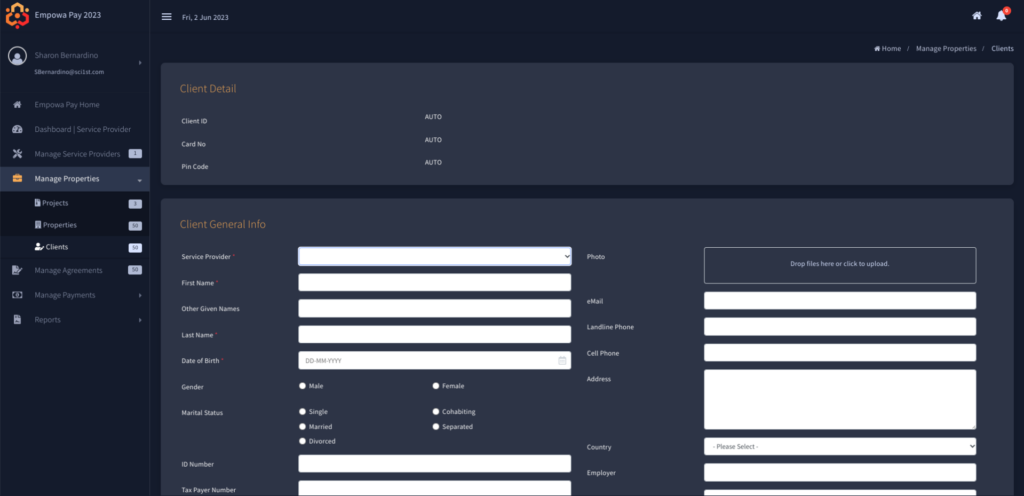
Step 4: Proceed to capture the details for your client ensuring you capture all required details.
Required information is marked with a red*. Other fields are optional but will improve the accuracy of your reporting if captured
Step 5: When complete make sure to click the “Save” button a the bottom of the screen

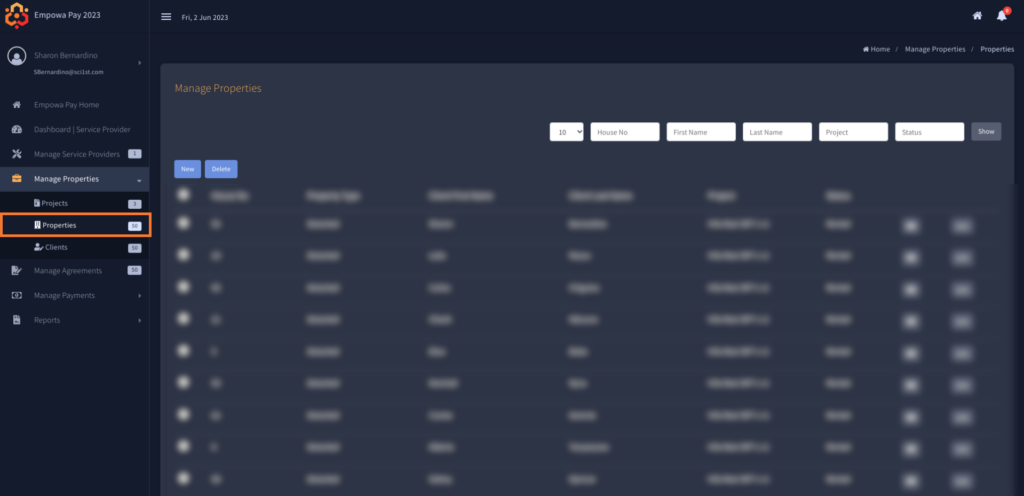
Assigning a property to a client #
Start by heading over to the properties tab found in the menu on the left under the “Properties Management” tab
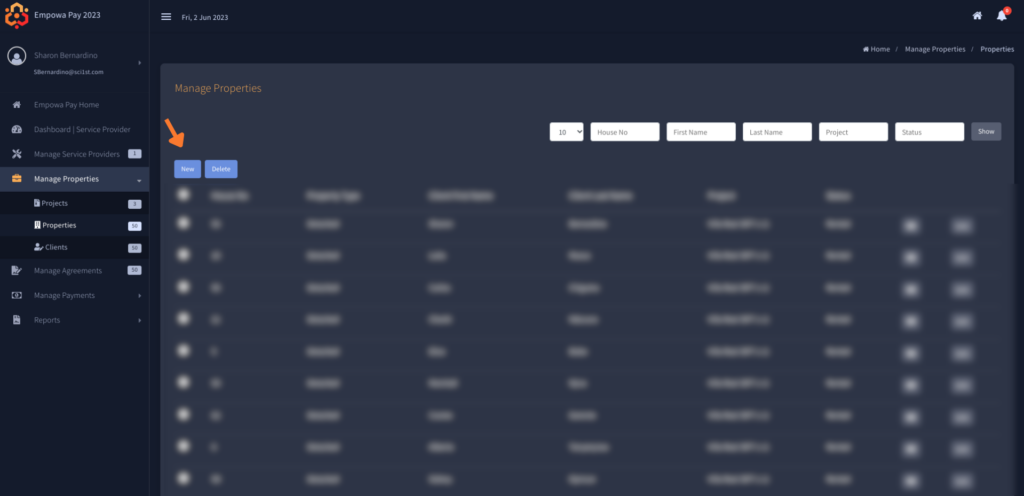
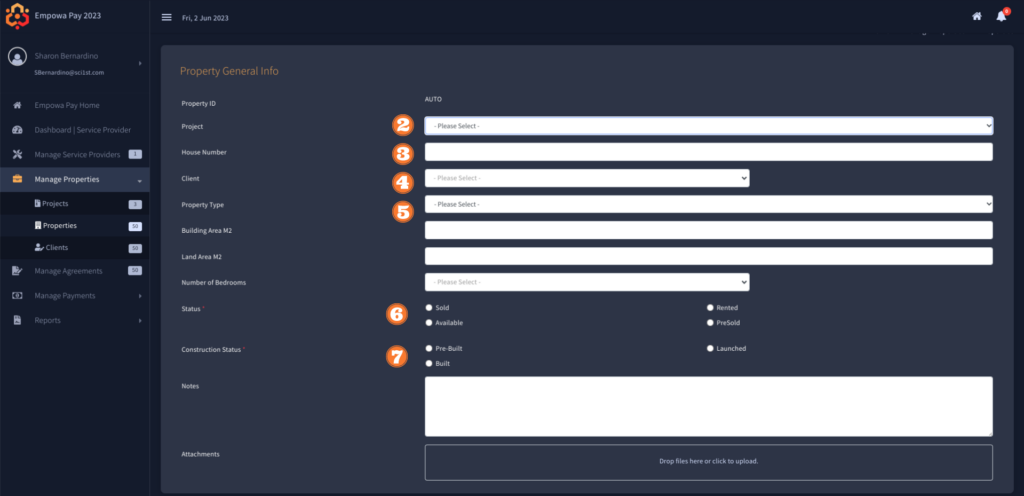
Step 1: Start by clicking “New” to add a property
Step 2: Pick the relevant project from the drop down
Step 3: Enter the house number from that development
Step 4: Pick the client associated to that home
Step 5: Pick the type of home, the types of homes are entered when creating the housing project so if you can’t find the type of home required then you’ll need to add this housing type in the housing project management section
Step 6: Pick a status, for Empowa Pay we define the statuses as follows:
Available – currently there is no tenant, the home can still be rented or sold
Rented – there is a tenant currently in the home on a lease-to-own contract
Sold – a tenant has paid for the house in full either in cash or by paying off all the equity owed under their lease-to-own contract
Step 7: Pick a construction status, for Empowa Pay we define the statuses as follows:
Pre-Built – Agreements are being entered pre-construction
Launched – Homes are built and being occupied for the first time
Built – This is not a new building and has been occupied before
Step 8: Then click save at the bottom of the screen
Adding a client agreement #
Adding a client agreement is found under the “Manage Agreements” tab in the left menu.
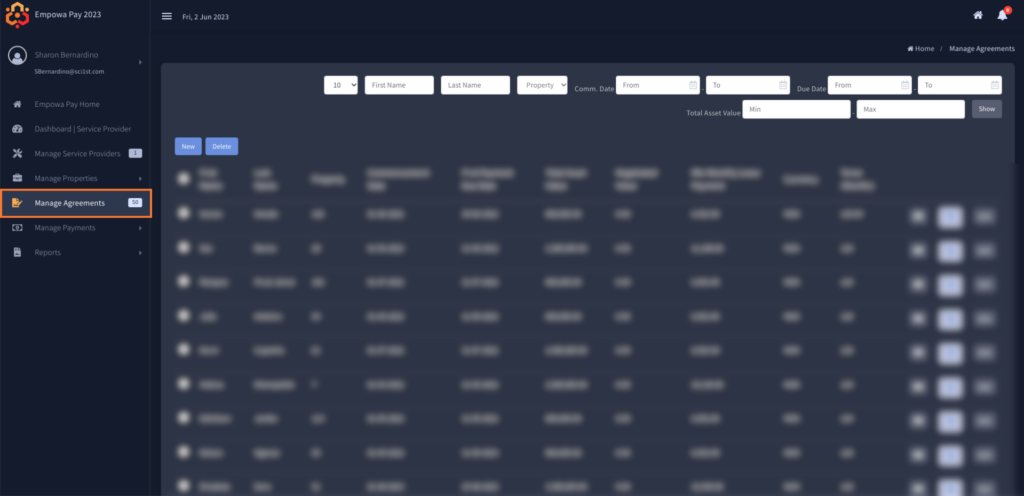
Step 1: Start by clicking “New” to add an agreement, the new button is found at the top of the screen in the same location as previous steps.
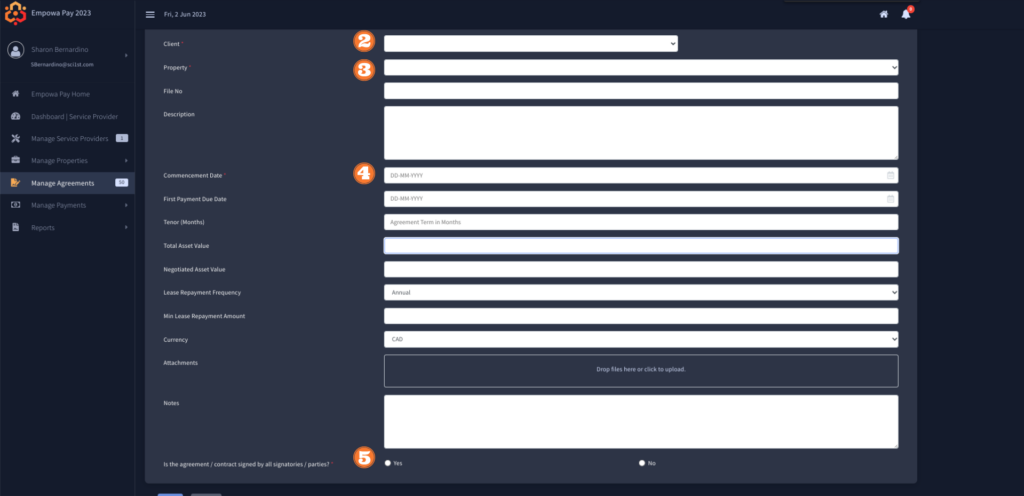
Step 2: Choose the relevant Client
Step 3: The properties associated with that tenant should appear in the drop-down, pick the house relevant to this agreement
Step 4: Proceed to complete the rest of the relevant information. The below fields are key details to include:
Commencement Date – the start date of the agreement
First Payment Date – the date by which the first payment is due
Agreement Term – the length of the lease-to-own contract measured in months
Total Asset Value – this is the cost of the home as outline in the lease to own contract
Currency – this is the currency to be used for monthly payments
Step 5: Confirm if the contract has been signed off by all parties
Don’t forget to click the submit button
Recording a client payment #
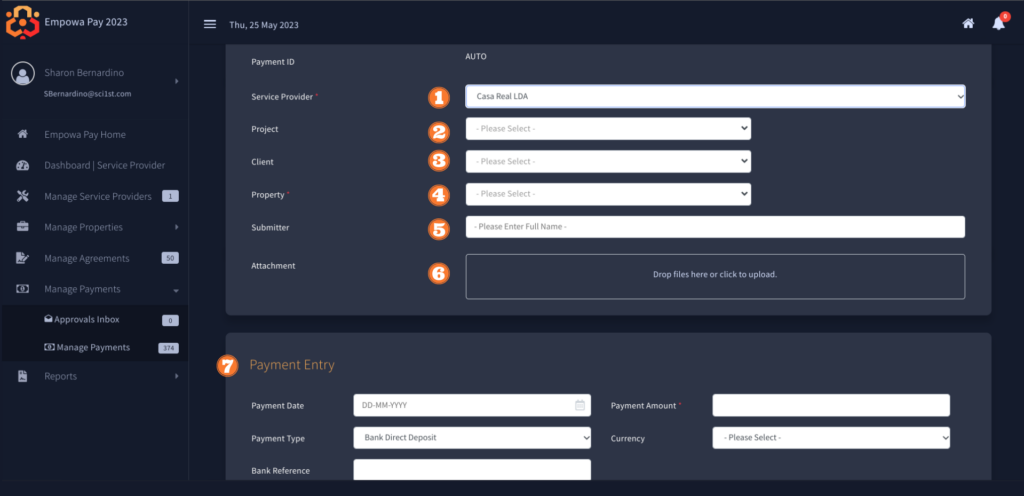
Payments are recorded under the “Manage Payments” tab found on the left-hand menu. On the next screen click “Enter New Payment” in the top left corner.

Step 1: Pick the service provider, if you are only linked to a single Empowa partner this should already be completed for you
Step 2: Choose which of the housing projects the payment is linked to
Step 3: Pick the clients name from the drop-down
Step 4: Pick the property that the payment is linked to
Step 5: Enter your name as the submitter so if needed the team can follow up with any questions
Step 6: If you have a proof of payment for example a copy of a deposit slip you can upload that here
Step 7: Complete the relevant details regarding the client’s payments including date, amount, currency and bank reference. You can also add any notes about the payment
Step 8: Don’t forget to click “Submit” at the bottom of the page so the payment is saved
Congrats! You have now completed the full process of adding a client to Empowa Pay, linking them to a house, capturing the key agreement data and recording their payment.


